Questionnaire tester
January 26, 2024 Leave a comment
At the FHIR Connectathon last week I participated in the Questionnaire track and spent most of my time there using – and integration with – the fhirpath lab questionnaire tester tool maintained by Brian Postlethwaite – one of the foundation members of the FHIR community.
The tester is part of a suite of tools that started with a focus on providing an app that helps people build FHIRPath expressions – then branched out from there (as these things tend to do).
Here’s a screenshot of the front page:
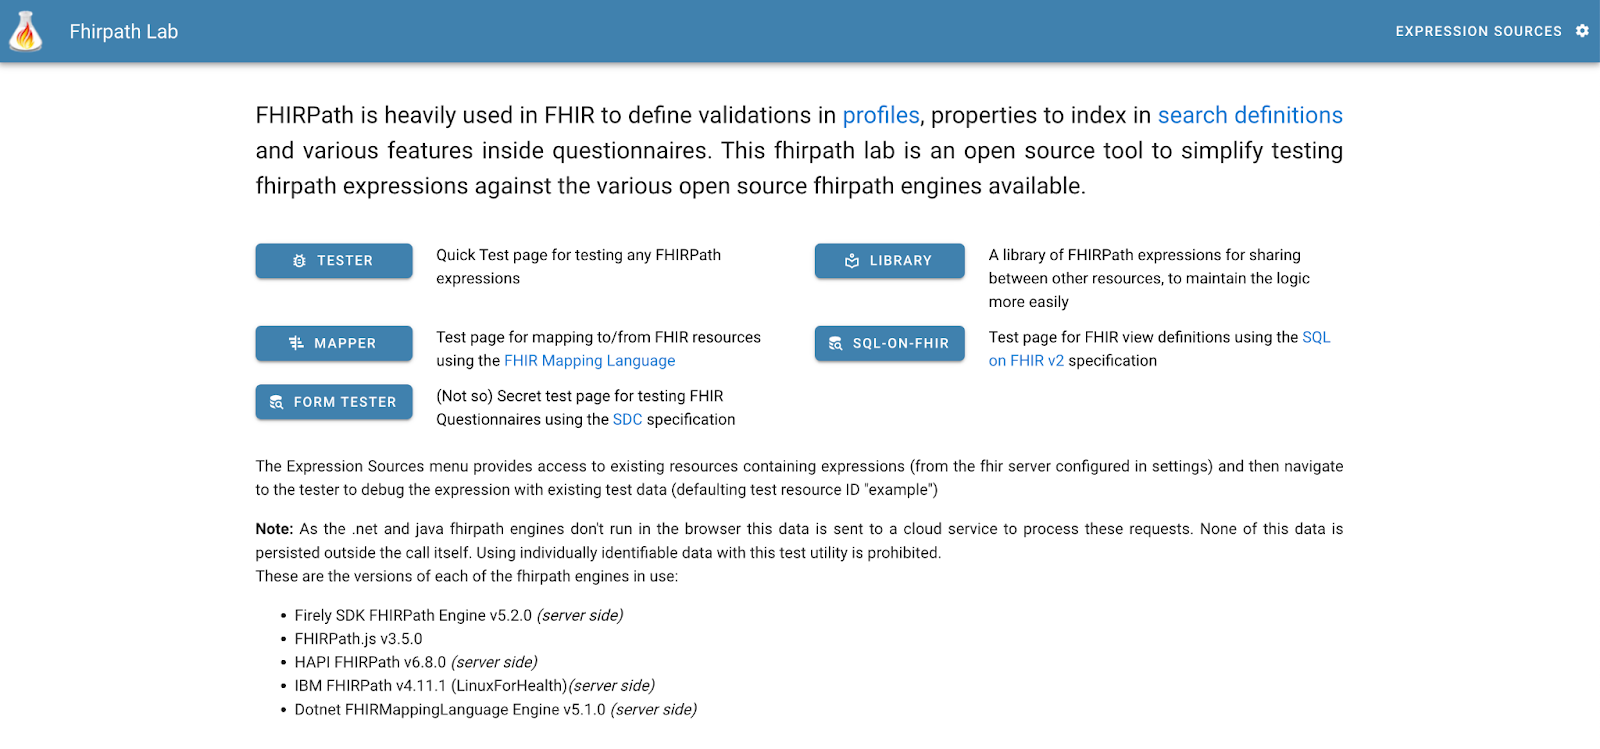
In this post we’ll be focussing on the Form Tester – we can look at some of the other modules in subsequent posts. At a high level, the forms tester allows you to import a Questionnaire resource and then use a number of different renderers to actually display the form.
Various functions then allow you to validate it, view the forms output (as QuestionnaireResponse resources), edit it, dig into the details of fhirpath expressions within it that are used for the more dynamic aspects to the Questionnaire.
Right now there are 2 renderers supported – the CSIRO one and one from the National Library of medicine (which was added during the connectathon), both of which are open source. But there’s no real limit to the number of renderers that could be supported – if you have one, then contact Brian to get yours installed as well.
And this highlights for me the key value add of the tool from the aspect of a Questionnaire designer – you can write (or generate) a Questionnaire then see how the different renderers display it. Of course, it also supports validation including aspects specific to forms generation. And you can make alterations to the Questionnaire (including the internal expressions) from within the tool and instantly see the effect on the form, as well as debugging the internals of the more complex forms – eg those that use expressions to pre-populate the form or create content from what has been entered. Powerful stuff.
Another useful aspect is that the tool can take the QuestionnaireResponse generated by the renderer and display it as well, along with any variables and other internal workings of the renderer.
When you load the forms tester, you get this interface. Of course, depending when you read this article the UI will very likely have changed, but should be easy to follow.
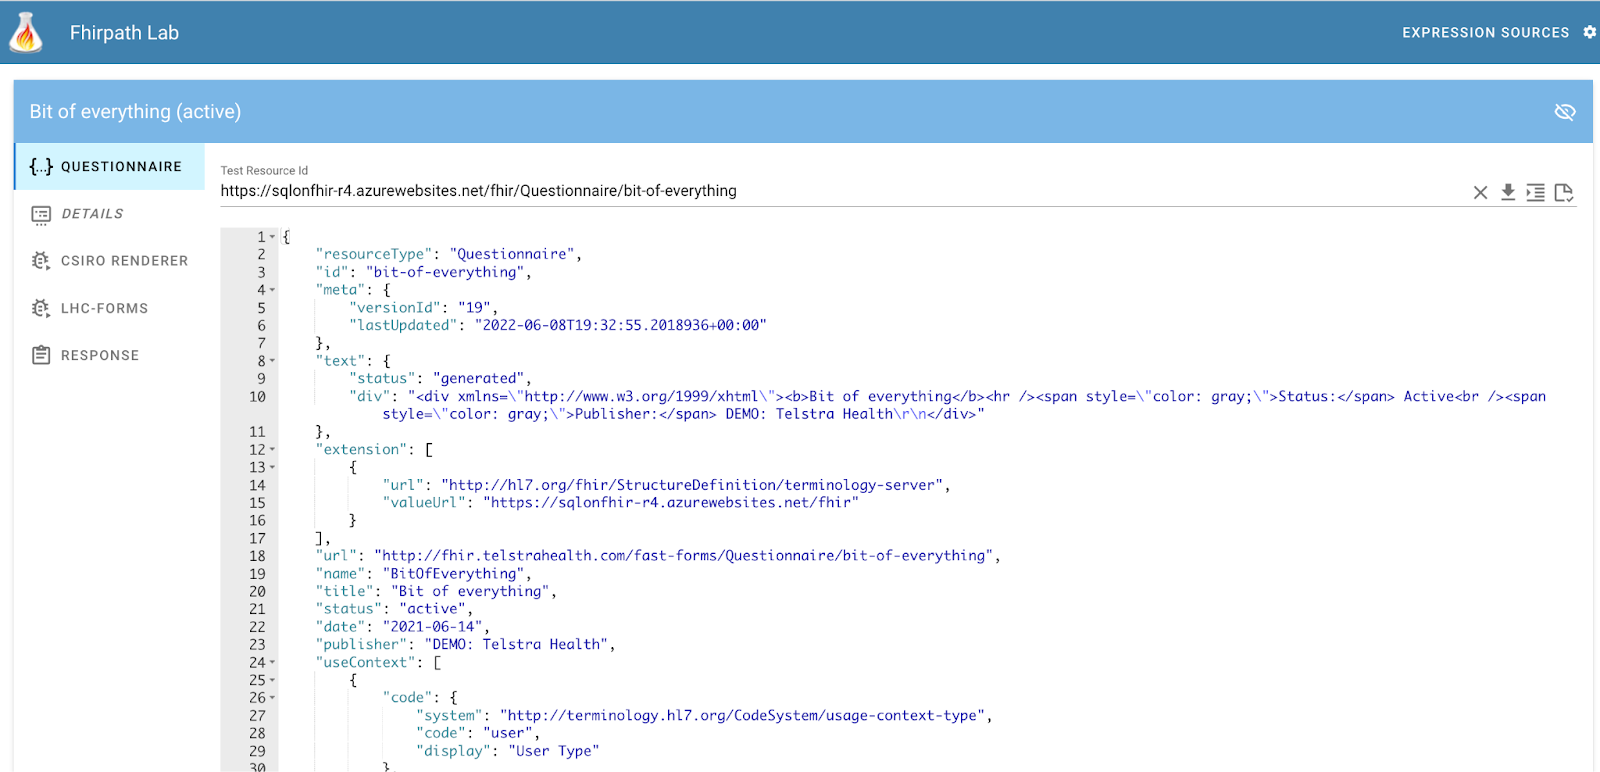
The first tab display the Questionnaire resource.
There’s an initial Questionnaire displayed – to load your own one there are a number of ways:
- You can paste it directly into the panel
- Enter the full url to the Questionnaire in the Test Resource Id field, then click the download button
to load the resource
Note that the term ‘id’ is used to mean the full location of the Questionnaire as can be seen in the screenshot above. This is because the Questionnaire has a canonical url, so the term ‘url’ is a bit ambiguous
There’s also an API that allows you to invoke the tool, specifying the Questionnaire to use. It has the format:
https://dev.fhirpath-lab.com/Questionnaire/tester?id={{pathToQ}}
Where {pathToQ} is the full resource url (as an absolute FHIR resource ID, not canonical URL) where the Questionnaire can be retrieved. As in the UI, the parameter name is not ‘url’ as that is commonly used to refer to the canonical url of the Q, so could be confusing. For me, this is one of the most compelling features as I’m developing an app that can generate Questionnaires from an underlying data model so it means I can have a button in my tool that says ‘Preview Q’ and invoke the tester app directly.
As a technical side note, my approach using the API was to save the Q in the public HAPI endpoint first, then call the tester with the url to the Q in HAPI.
Once loaded, the UI has 2 panes. Along the left side are a number of tabs that display content in the right panel.
The Questionnaire tab displays the Q being used. As stated above it is editable, which is especially handy if you want to make a change then instantly see the effect in the various renderers.
At the top right are a number of icons.
- The X tab clears the resource id field at the top of the screen so you can enter another
- The arrow down icon downloads the Questionnaire to the tool and displays it in the UI
- The ‘indent’ icon formats the Questionnaire nicely
- The last icon (a document with a tick) is the Validate function. Clicking this will perform a validation to be performed, with the results being shown in a debug tab that appears. In some cases you can go directly to the part of the Questionnaire that is causing the issue, though this is not always possible.
The Details tab shows the ‘meta’ information about the Q – name, title, purpose, context of use and so forth
Then there is a tab for each of the supported renderers. Each will display the rendered document to the right.
Here’s the CSIRO rendering:

And here’s the LHC tab:
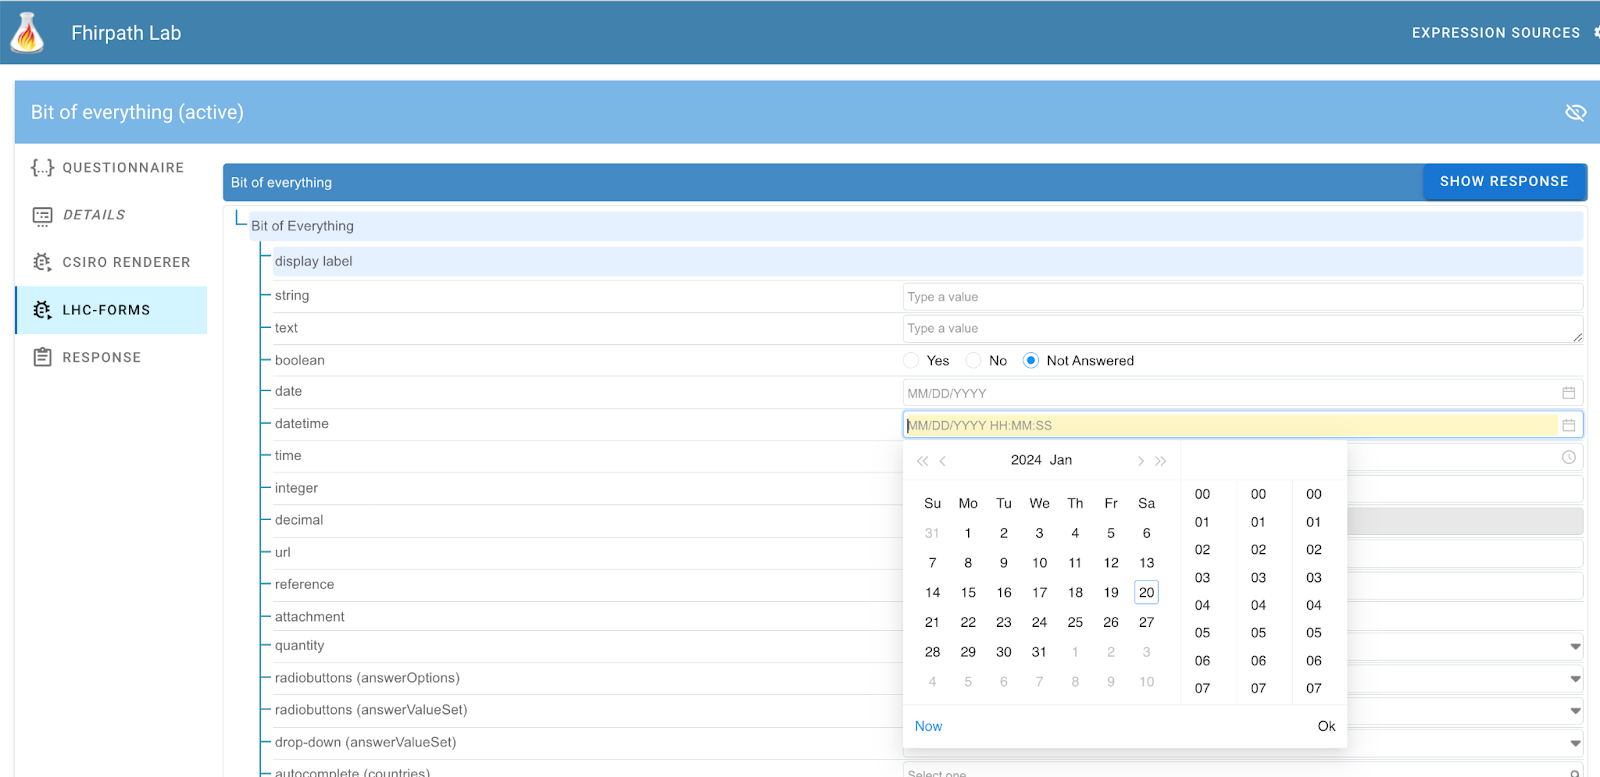
The LHC renderer can also be accessed directly.
As stated above, the tool has been designed to incorporate multiple renderers – contact Brian if you have one that is a candidate – you’ll be very welcome!
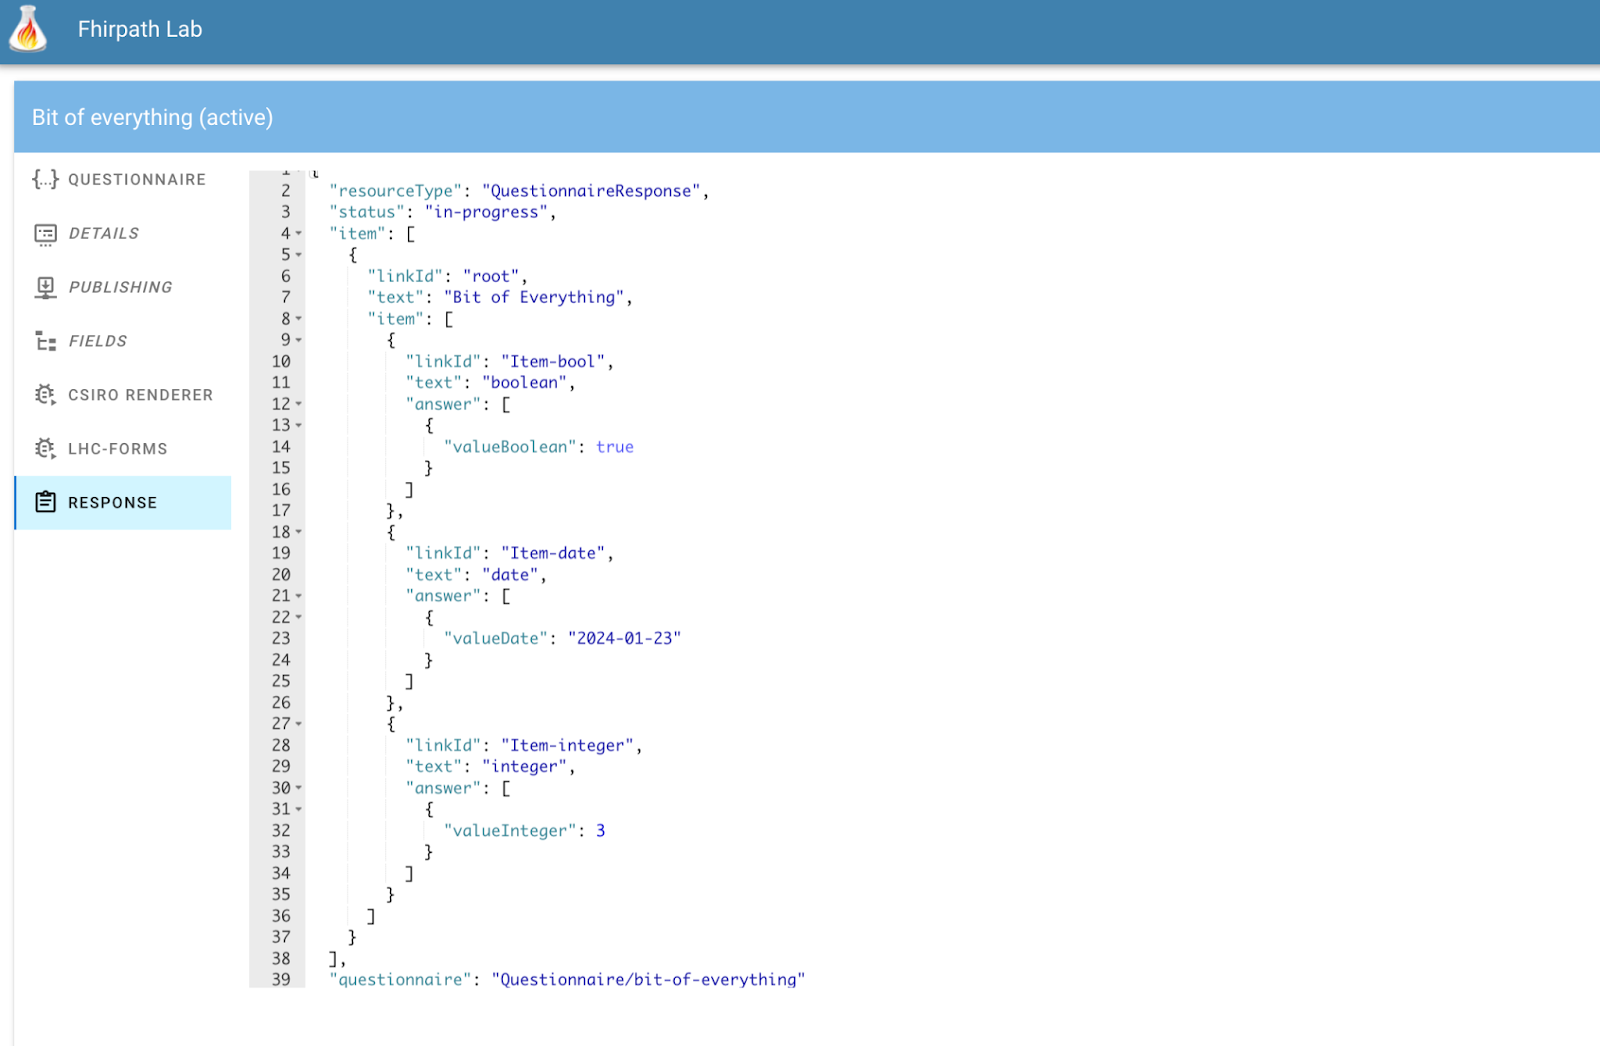
The response tab shows the QR generated by the renderer. To display content, click the ‘Show Response’ button that appears to the top right of each rendered form. This will then show the generated QuestionnaireResponse from the renderer in the tab. You’ll need to re-click the ‘show response’ button to re-create this content if you make changes in the form..
At the moment the tool does not support pre-population of the form from a FHIR server, though that’s on the roadmap.
So that’s an overview of what is an extremely useful tool for Questionnaire developers. There’s more that it can do – especially for the more complex forms with expression based business logic – we’ll talk more about that later – once I’ve worked it out myself!
Recent Comments