July 19, 2019.
Let’s take a look at turning on SSL for the IIB web interface connections.
Prerequisites and Benefits
First of all, you need to have your key and trust stores setup on the IIB integration node and the certificates loaded into them. Also, unlimited crypto libraries need to be installed on your IBM JRE.

Secondly, what are the obvious benefits of accessing your integration nodes over HTTPS vs HTTP? The reasons are the same as for accessing your bank account over HTTPS vs HTTP. The information you send across the internet needs to be encrypted to protect any sensitive and confidential data that might be in flight.
Technical Steps
These steps have been tested on IIB v10.x.
- You will be using a new port for your connection. The default is 4434 but you can pick your own. System administrators usually lock down all ports and only allow them open when they are needed. So, get that port open for inbound and outbound connections. Example on Linux:/scripts/linux/cloudPort add -p tcp 4434
- Let’s assume your key and trust stores are located in /var/mqsi/config/IIB_NODE1/ssl and are named key.jks and trust.jks respectively. We will be modifying the IIB node’s registry with mqsichangeproperties command to let the node know where to look for those stores:mqsichangeproperties IIB_NODE1 -o BrokerRegistry \
-n brokerKeystoreFile,brokerTruststoreFile,allowSSLv3 \
-v /var/mqsi/config/IIB_NODE1/ssl/key.jks,\
/var/mqsi/config/IIB_NODE1/ssl/trust.jks,falseA few important things to note in this command. The command consists of an object name you would like to modify specified by the –o flag, followed by a comma-separated string of field names specified by the –n flag, followed by a comma-separated string of values specified by the –v flag. There are no spaces between field names or values. If you would like to break up the command to make it more readable, you can use a line separator: backwards slash on Linux (\) and caret on Windows (^). In both cases there can’t be a space after a separator. Field “allowSSLv3” allows you to enable weaker SSL v3 ciphers on your connection. It is not recommended to use anything below TLS v1.2, so we set this field’s value to “false”. - Since the key and the trust stores are password protected, next we need to tell the node what those are, so it can access the certificates stored inside. As always with IIB, we use the mqsisetdbparms command for that.mqsisetdbparms IIB_NODE1 -n brokerKeystore::password -u ignore -p ”
mqsisetdbparms IIB_NODE1 -n brokerTruststore::password -u ignore -p ”Enter the appropriate password for the store between single quotes. - Next, we will be changing the HTTPS connector object properties:mqsichangeproperties IIB_NODE1 -b webadmin -o HTTPSConnector \
-n keystoreFile,keystorePass,truststoreFile,truststorePass \
-v /var/mqsi/config/IIB_NODE1/ssl/key.jks,brokerKeystore::password,\
/var/mqsi/config/IIB_NODE1/ssl/trust.jks,brokerTruststore::passwordThe first run of this command sets up the key and trust stores and their passwords. The second run sets up the protocol we want to use and the port to listen on.mqsichangeproperties IIB_NODE1 -b webadmin -o HTTPSConnector \
-n sslProtocol,port -v TLSv1.2,4434 - Last thing we need to do is actually enable SSL for web interface connections:mqsichangeproperties IIB_NODE1 -b webadmin -o server -n enableSSL -v true
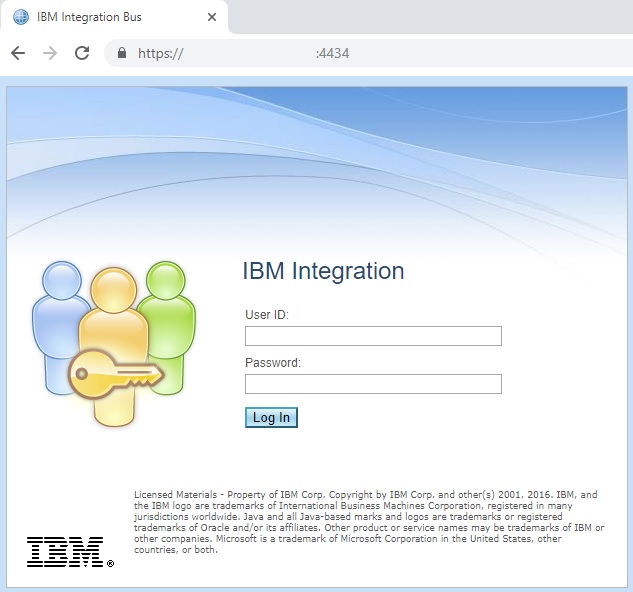
- Recycle the node and you should be able to connect over HTTPS to your IIB node web interface: https://hostname:4434
Postface
A couple of notes. You can always check your current settings using these commands:
mqsireportproperties IIB_NODE1 -b webadmin -o HTTPSConnector -r
mqsireportproperties IIB_NODE1 -b webadmin -o server -r
Using the flag –r will provide all values recursively. Using the flag –a will provide all values without displaying any values underneath the first level, if any.
mqsireportproperties IIB_NODE1 -b webadmin -o HTTPSConnector -a
mqsireportproperties IIB_NODE1 -b webadmin -o server -a
As always, I welcome comments. Let me know if these instructions worked for you!